How to schedule the welcome emails
Employee welcome emails must be scheduled manually.
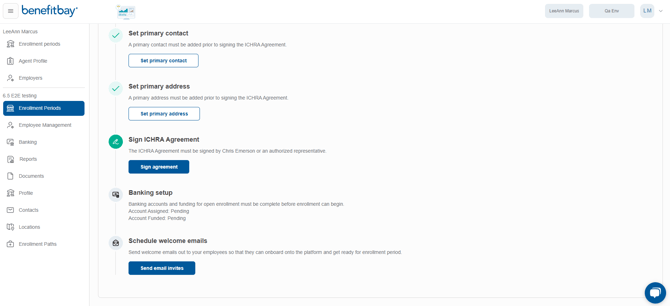
Navigate to the employer's Setup tab to continue the checklist steps.
Scroll down to the "Schedule welcome emails" task on the checklist.
Click the blue "Send email invites" button under the "Schedule welcome emails," on the checklist.
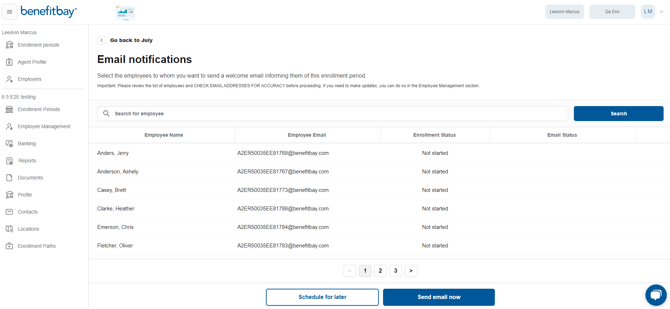
At the bottom of the Email Notifications screen, select the white "Schedule for later" button.
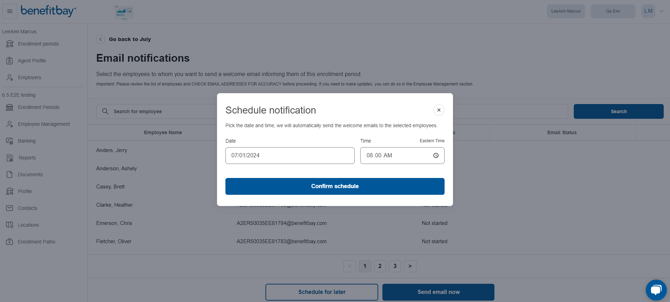
Select the date and time you would like the emails to be sent to the employees.
- Best practice: use the date that Open Enrollment is scheduled to start.
- Eastern Time is the default time zone for the scheduler.
After entering the desired date and time, select the blue "Confirm schedule" button in the middle of the screen.
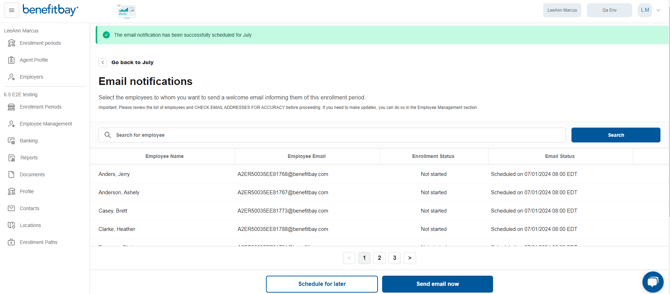
A green banner at the top of the page confirms that the emails have been scheduled.
You will also be able to see the email status column on the right. It will populate with the selected date and time.